How to Make a Curved Line in Photoshop Elements
Creating visually appealing designs often involves adding curved lines to your artwork. Whether you’re working on graphic design projects, editing photos, or simply enhancing your creativity, Photoshop Elements provides a versatile platform for achieving your artistic goals. In this article, we’ll explore how to make a curved line in Photoshop Elements, step by step.

Before we dive into the details of creating curved lines, let’s have a quick introduction to Photoshop Elements. It’s a user-friendly, affordable version of Adobe Photoshop, suitable for both beginners and intermediate users. With its extensive set of tools, you can perform various design tasks, including drawing curved lines.
Launching Photoshop Elements
The first step is to launch Photoshop Elements on your computer. If you haven’t installed it yet, you can visit the official Adobe website to download and install the software. Once it’s up and running, follow these steps:
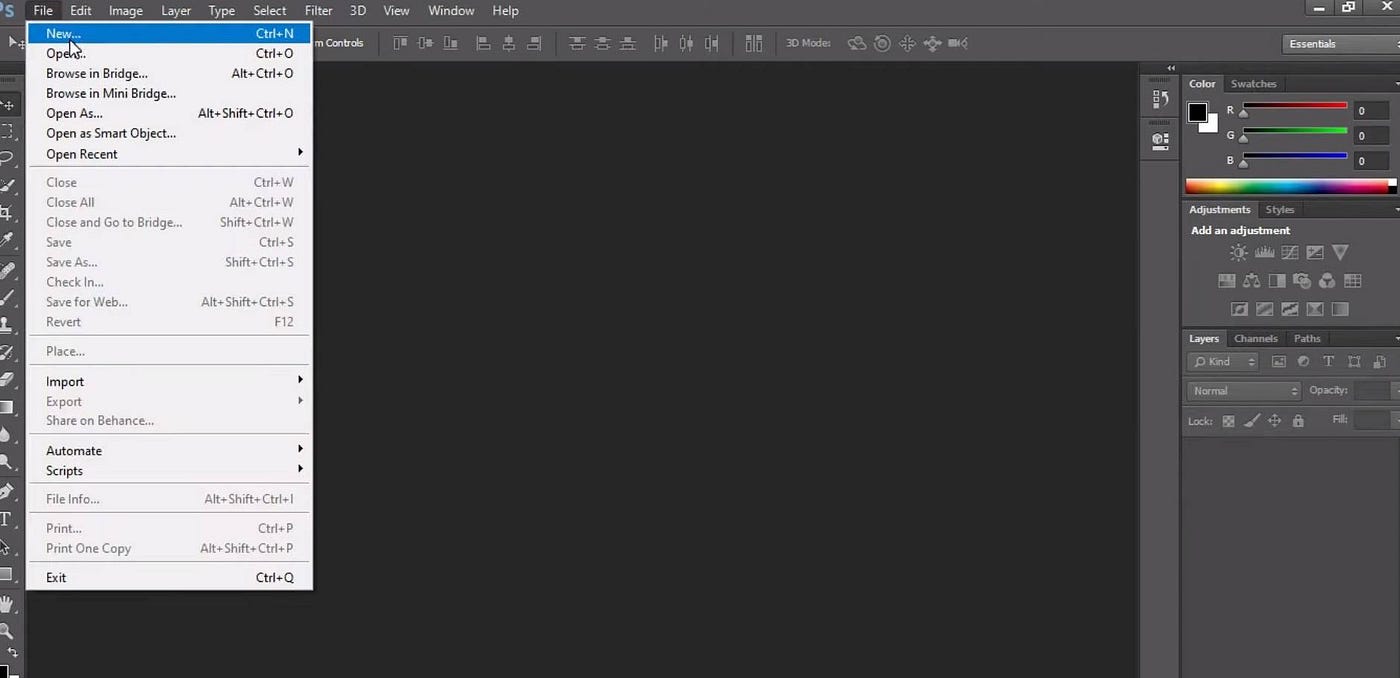
Step 1: Create a New Document
Click on “File” in the top menu.
Select “New” to create a new document.
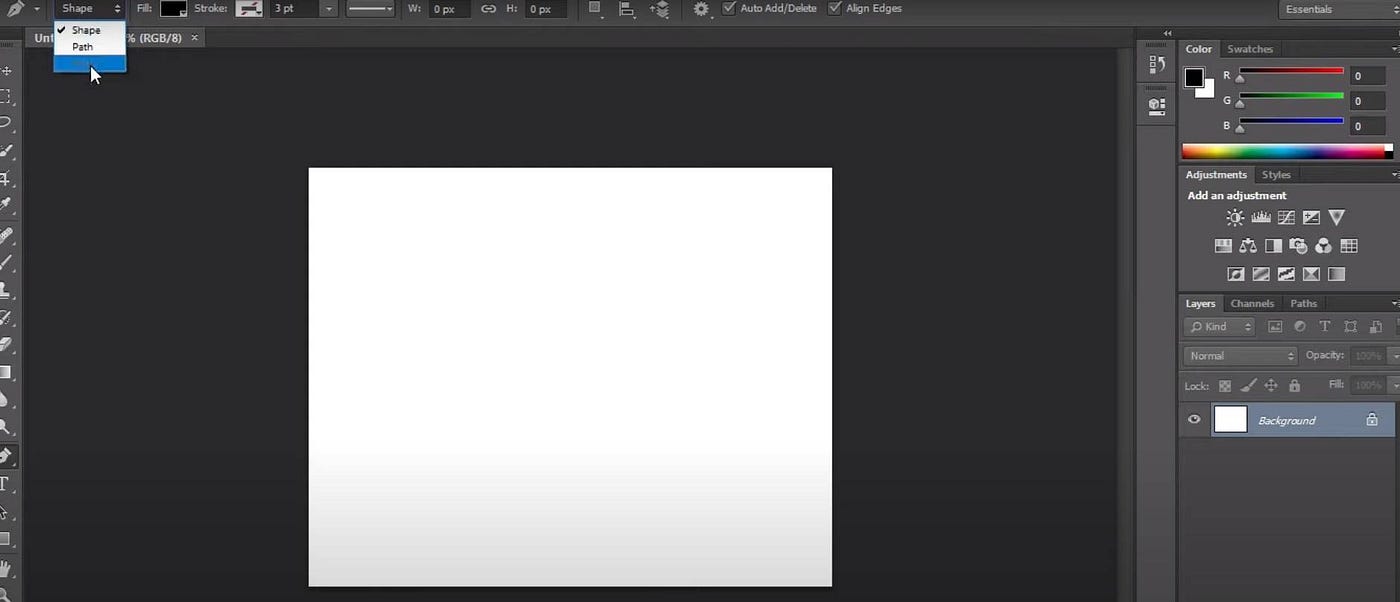
Step 2: Choose Your Canvas Size
In the dialog box that appears, specify the dimensions for your canvas. These dimensions will determine the size of your curved line.
Step 3: Select the Brush Tool
Locate the “Brush Tool” in the toolbar on the left side of the screen.
Click on it to select the Brush Tool.
Step 4: Set the Brush Options
At the top of the screen, you’ll find the brush options. Adjust the brush size according to your preferences.
Step 5: Customize the Brush Settings
To create a curved line, you’ll want to modify the brush settings. Look for the “Brush Tip Shape” option and set the hardness to a lower value for a smoother curve.
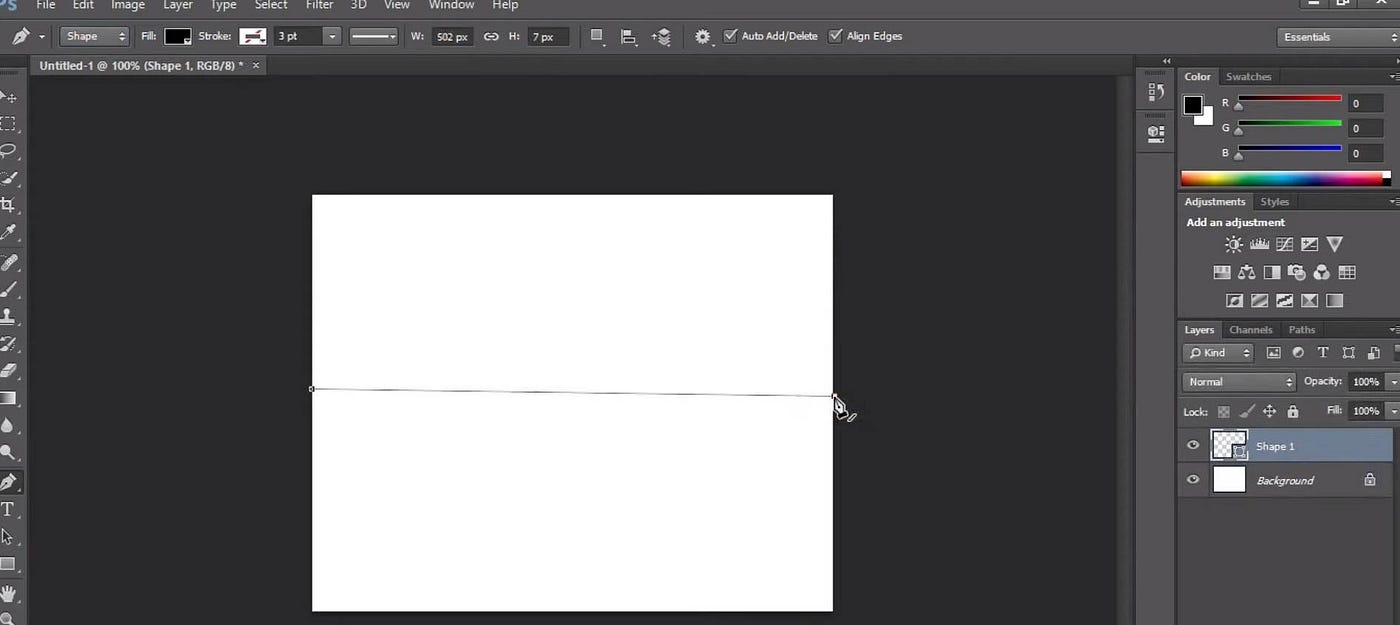
Step 6: Drawing the Curved Line
Click at the starting point of your curved line.
Hold down the mouse button and drag the cursor to create the desired curve. Release the mouse button when you’re satisfied with the shape.
Adding Depth to Your Curved Line
Step 7: Adjusting Line Thickness
To make your curved line stand out, you can adjust its thickness by changing the brush size.
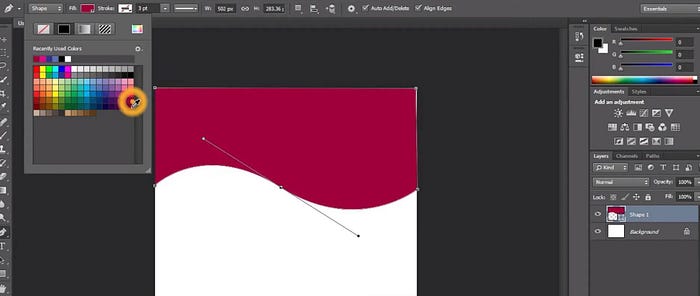
Step 8: Applying Color
To give your curved line a color, select the foreground color and use the brush to paint over the line.
Fine-Tuning Your Curved Line
Step 9: Editing and Refining
If you want to make any adjustments to your curved line, use the “Undo” and “Redo” options or select the “Eraser Tool” to refine the line.
Advanced Techniques for Curved Lines
Step 10: Adding Special Effects
To make your curved lines more captivating, consider applying special effects. You can do this by navigating to the “Layer Styles” option in the “Layer” menu. Here, you can add effects like gradients, drop shadows, or strokes to enhance the appearance of your curved lines.
Step 11: Working with Layers
It’s a good practice to create separate layers for your curved lines. This allows you to edit and manage them individually. To create a new layer, click on the “New Layer” button at the bottom of the Layers panel.
Step 12: Transforming Your Curved Line
If you want to change the position, size, or orientation of your curved line, use the “Transform” options under the “Edit” menu. You can scale, rotate, or skew your line as needed.
Step 13: Combining Shapes
Photoshop Elements enables you to create complex designs by combining multiple shapes. You can draw additional curved lines, circles, or other shapes and arrange them to create intricate patterns or illustrations.
Step 14: Exporting Your Artwork
Once you’ve completed your design, it’s time to save or export it. You can save your work in Photoshop Elements’ native format (PSD) to retain layers and editing capabilities. To share your artwork with others, export it in common formats like JPEG or PNG.
Tips for Perfect Curved Lines
Tip 1: Use Guides
To create precise and symmetrical curved lines, you can enable guides in Photoshop Elements. These guides help you align and control the curvature of your lines.
Tip 2: Practice with Pen Tool
For more intricate and customizable curves, consider practicing with the Pen Tool. It offers greater control over anchor points and curves, allowing you to create complex shapes.
Tip 3: Experiment with Blending Modes
Don’t hesitate to experiment with different blending modes for your curved lines. Blending modes can change how your lines interact with the background and other elements, creating unique visual effects.
Conclusion
Mastering the art of creating curved lines in Photoshop Elements opens up a world of creative possibilities. Whether you’re designing logos, digital illustrations, or enhancing your photographs, the ability to add curved lines with finesse will undoubtedly elevate your work.
Remember that practice makes perfect, so don’t be discouraged if your first attempts aren’t flawless. With time and dedication, you’ll become a proficient user of Photoshop Elements, capable of crafting stunning curved lines and intricate designs.
Now, armed with these advanced techniques and tips, it’s time to embark on your creative journey and start incorporating beautifully curved elements into your digital artwork. Unleash your imagination and transform your visions into reality!
FAQs (Frequently Asked Questions)
Is Photoshop Elements suitable for beginners?
Yes, Photoshop Elements is designed to be user-friendly and is an excellent choice for beginners.
Can I create more complex shapes with the Brush Tool?
Absolutely! You can use the Brush Tool to create various shapes, including curves, lines, and intricate designs.
Are there any shortcuts for drawing curved lines?
While Photoshop Elements offers various methods for drawing curved lines, using the Brush Tool as described in this article is one of the most versatile approaches.
What if I want to change the color of my curved line later on?
You can easily change the color of your curved line by selecting the layer containing the line and using the “Paint Bucket” or “Brush Tool” to apply a new color.
Can I create curved lines with different opacities?
Yes, you can adjust the opacity of your curved lines by changing the brush settings to achieve various visual effects.
you can follow Clipping Creations India’s Blogs. And also asked for a free trial for your e-commerce business photo editing projects.